Vegetarian Pot Stickers
Certain meals end up in a pile labeled “for restaurant consumption only.” There isn’t one specific characteristic that makes foods end up in this category; Sometimes a restaurant makes something so perfect I can’t bring myself to even try to recreate it, other times the ingredients seem too foreign or expensive, and often I’m simply confused by the process and intimidated by the thought of figuring it out. Fortunately, this blog yanks me forward, twists my arm, and directs me to the grocery store aisles I tend to avoid.
A couple weeks ago, I needed a quick lunch and ended up having a frozen box meal of vegetable pot stickers that had been long forgotten in the back of my freezer. Since I usually have the attitude of “too refined for thee” when it comes to frozen food, I was not excited when I realized I had no choice but to heat and eat. While chowing down, I realized I was enjoying the boxed food, and not just any food, but a meal that I had vehemently insisted was “restaurant only” for many years. If frozen food in a box could make non-offensive pot stickers, I certainly could, right? Sure, pot stickers intimidate me for not one, not two, but all three aforementioned reasons (restaurant perfection, foreign ingredients, mysterious process), but what could possibly go wrong? Armed with a strong attitude and misguided confidence, I made a detailed list and marched to the grocery store.
This recipe comes with a disclaimer: Neither I nor the boy ate the finished product unscathed. Perhaps a lesser woman would take this as a sign that some recipes should indeed be left with the tab at the table, but not I, dear readers. One must remember two simple things while reading the following: 1) It is essential to think before doing, in all matters of life and heated cookware, and 2) Some of us are more prone to accidents (read: stupidity), so take my pain with a grain of salt.
Vegetable Pot Stickers with Dipping Sauce
An adaptation of two recipes courtesy of AllRecipes.com “Gyoza Recipe” for the actual pot stickers, and “Gyoza Sauce” for the dip.
Serves 6-8
- 1.5 cups brown rice
- Splash of olive oil and salt for the water
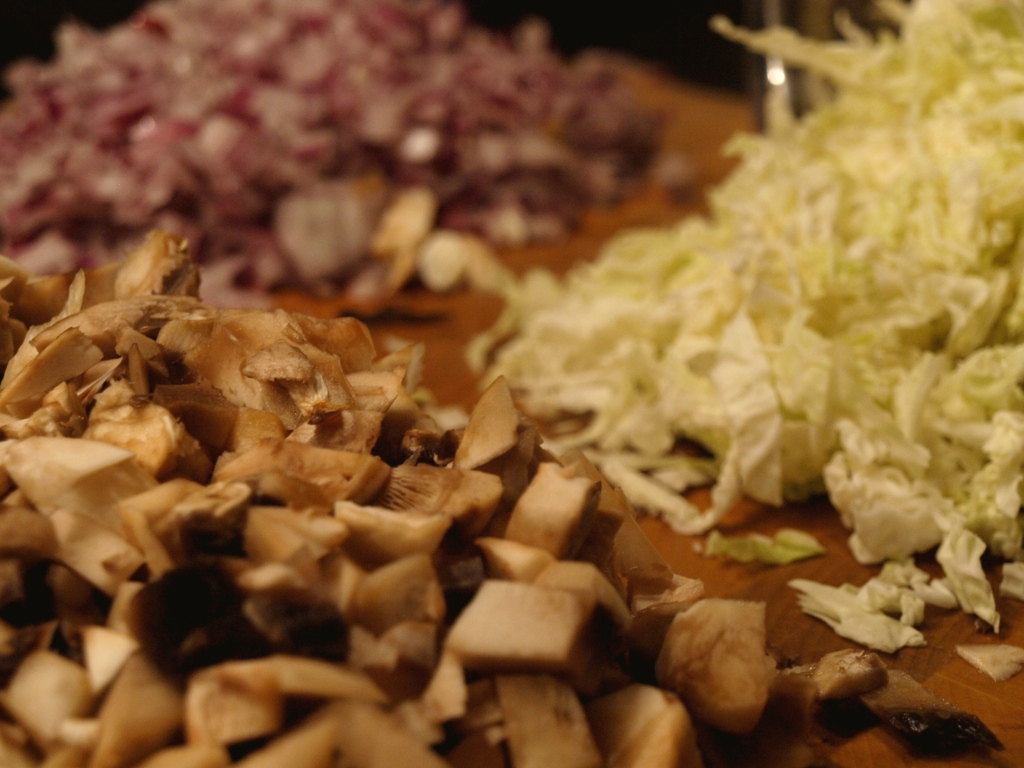
- 1/2 of one large green cabbage, or 1 small cabbage, chopped
- 8-ounces mushrooms, chopped
- 1/2 red onion, finely chopped
- 1 tablespoon green onion, chopped
- 1/2 tablespoon fresh grated ginger
- 2 cloves minced garlic
- 3 tablespoons toasted sesame oil
- 2 tablespoons soy sauce
- Ground pepper to taste
- 1 egg
- 12-ounce package pot sticker wrappers
- 1/4 – 1/2 cup olive oil
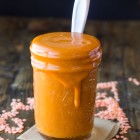
And for the dipping sauce…
- 1/2 cup rice vinegar
- 1/2 cup soy sauce
- 1/2 tsp crushed red pepper
- 1/2 tsp grated ginger
- 1 clove garlic, minced
Get the water boiling for your brown rice, because the rice takes up to 40 minutes, and you don’t want rice raining on your pot sticker parade. Put a good pour of olive oil in the water, and a fair amount of salt. Add the rice to the bowling water, let it boil again, then reduce to a simmer, cover, and let it be for 35-40 minutes while you move onto the veggies.
Combine your chopped veggies in a large bowl. Add the garlic, and grate the ginger over the top. Put 1 tablespoon of the toasted sesame oil in a nonstick stir-fry pan. Add the vegetable mixture, top with a few twists of ground pepper, and pour the soy sauce and remaining 2 tablespoons of toasted sesame oil over the top. Turn the burner on medium-high heat, and stir occasionally until the vegetables have reduced and the cabbage is limp. Turn the burner on low, crack in an egg, and stir until the egg is well incorporated and not runny.
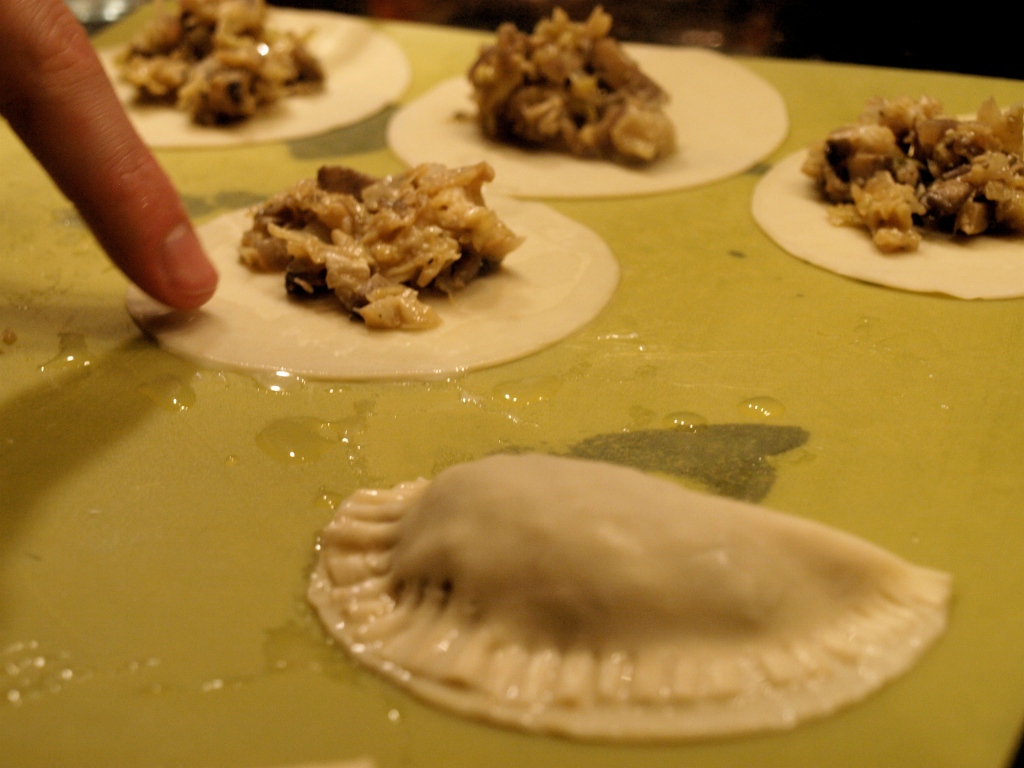
Arrange the pot sticker wrappers on a clean work surface, and have a cup of water nearby. To assemble the pot stickers, use a finger to rub water around the edges of the wrapper, then put a tablespoon of filling in the middle. You want a full pot sticker, but not one where the veggies overfloweth, so try to reach a delicate balance. The boy was a little over-generous with his filling, and I was a bit more meager. Once you get the amount juuuuust right, fold the wrapper over the filling, and push down the sides with a watered finger. Use a wet fork to seal the sides. Think of it like a fun art project, not putzy – it’s all about attitude, baby!
Here comes the dangerous part. Take a deep breath, and heat some olive oil in a nonstick pan. Pour enough to coat the bottom of the pan, and let it heat until the oil is fragrant and warm when your hand is above it. Add the pot stickers to the pan very carefully. Don’t go too fast because it will splash, and that hot oil splash will come right back at you (trust me…the boy and I both have the burns to prove it). Fry the pot stickers for about one minute, then use tongs to slowly flip to the other side. Let them sit for another minute, then remove from the oil and set on a paper towel.
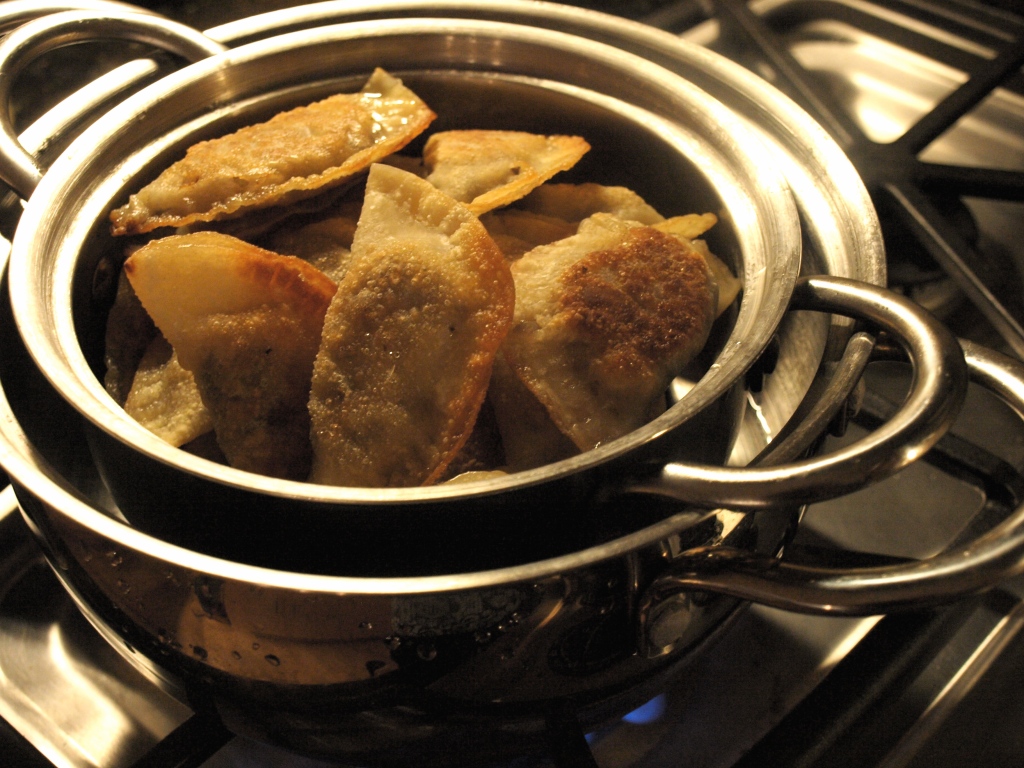
We did not have a big enough pan to steam the pot stickers immediately after frying, so we had to get crafty. Of course, with craftiness comes some danger, so beware the heat yet again. Boil an inch or two of water in a pot, and put a steamer on top of it. Add the pot stickers, and cover with a tight lid. This will trap the steam directly under the pot stickers in the mini steamer, and give the pot stickers that distinctive texture.
It’s worth noting that this process adaptation came from the boy, so I went along like the breezy girl I am. I did ask, out of curiosity not fear, no definitely not fear at all, “What are we basing the done-ness on, since we can’t see them, and we’re not evaporating all the water?” As a girl who likes directions, and sticking to said directions, his delayed response of, “Uhhh, PF Changs?” was music to my open, hopeful, and unconvinced ears. So, we waited, and burned a finger (okay, more like five fingers) picking up the steam-catching lid. Be patient, and you will reap your rewards, not to mention keep your skin. Give it 3-4 minutes, then remove the little stickers.
In the 3-4 minutes the stickers take to steam, simply whisk together the sauce ingredients. If you’re serving a group, arrange the pot stickers attractively on a plate with rice and sauce in the middle, but if you’re serving individuals, provide each person with a heaping scoop of rice, and 3-5 pot stickers.
Oh. My. Goodness. These were ridiculously wonderful. They were time-intensive, sure, but it turned out to be a fun date activity that ended with an amazing meal. The pot stickers had just the right consistency of slightly crunchy edges and a soft center filled with the right blend of sesame, soy sautéed veggies. The chunks of mushrooms helped lend a “meaty” consistency to tame the beast, and he even said they were “better than restaurant pot stickers.” We may have had painful, swollen fingers while grasping our forks, but there’s no shame in pain when you’re eating something this good.











Pingback: Faking Authenticity (And Loving It) « Veggie and the Beast
Just discovered your blog when I started following you on twitter. I really like your writing style and have enjoyed what I’ve read so far. The photography is very good also. I started a food blog back on November 1 also. I’m not a vegetarian but am doing Meatless Mondays and am enjoying it and writing about it.
Keep up the good work with the blog and, if you have a minute, take a look at mine. I’d love your feedback.
Thank you so much for reading and commenting! I started in November too and I’m having so much fun with it. I’m always looking for more recipes so I’ll have to check out your blog!
Pingback: Baked Cream Cheese Jalapeno Wontons « Veggie and the Beast
These look and sound delicious – and vaguely remind me of pierogies in shape (although the ingredients of the filling are very different). Thank you so much for sharing and despite all the painful difficulties in making, they turned out lovely…
Why thank you. They were quite yummy, despite being dangerous. :)